

For the past 2.5 months, we’ve been settling into our new (old) home. I’ve mentioned that we bought a 1920 Dutch Colonial that had many modern updates, but needed some additional renovations – mainly, the carpet.
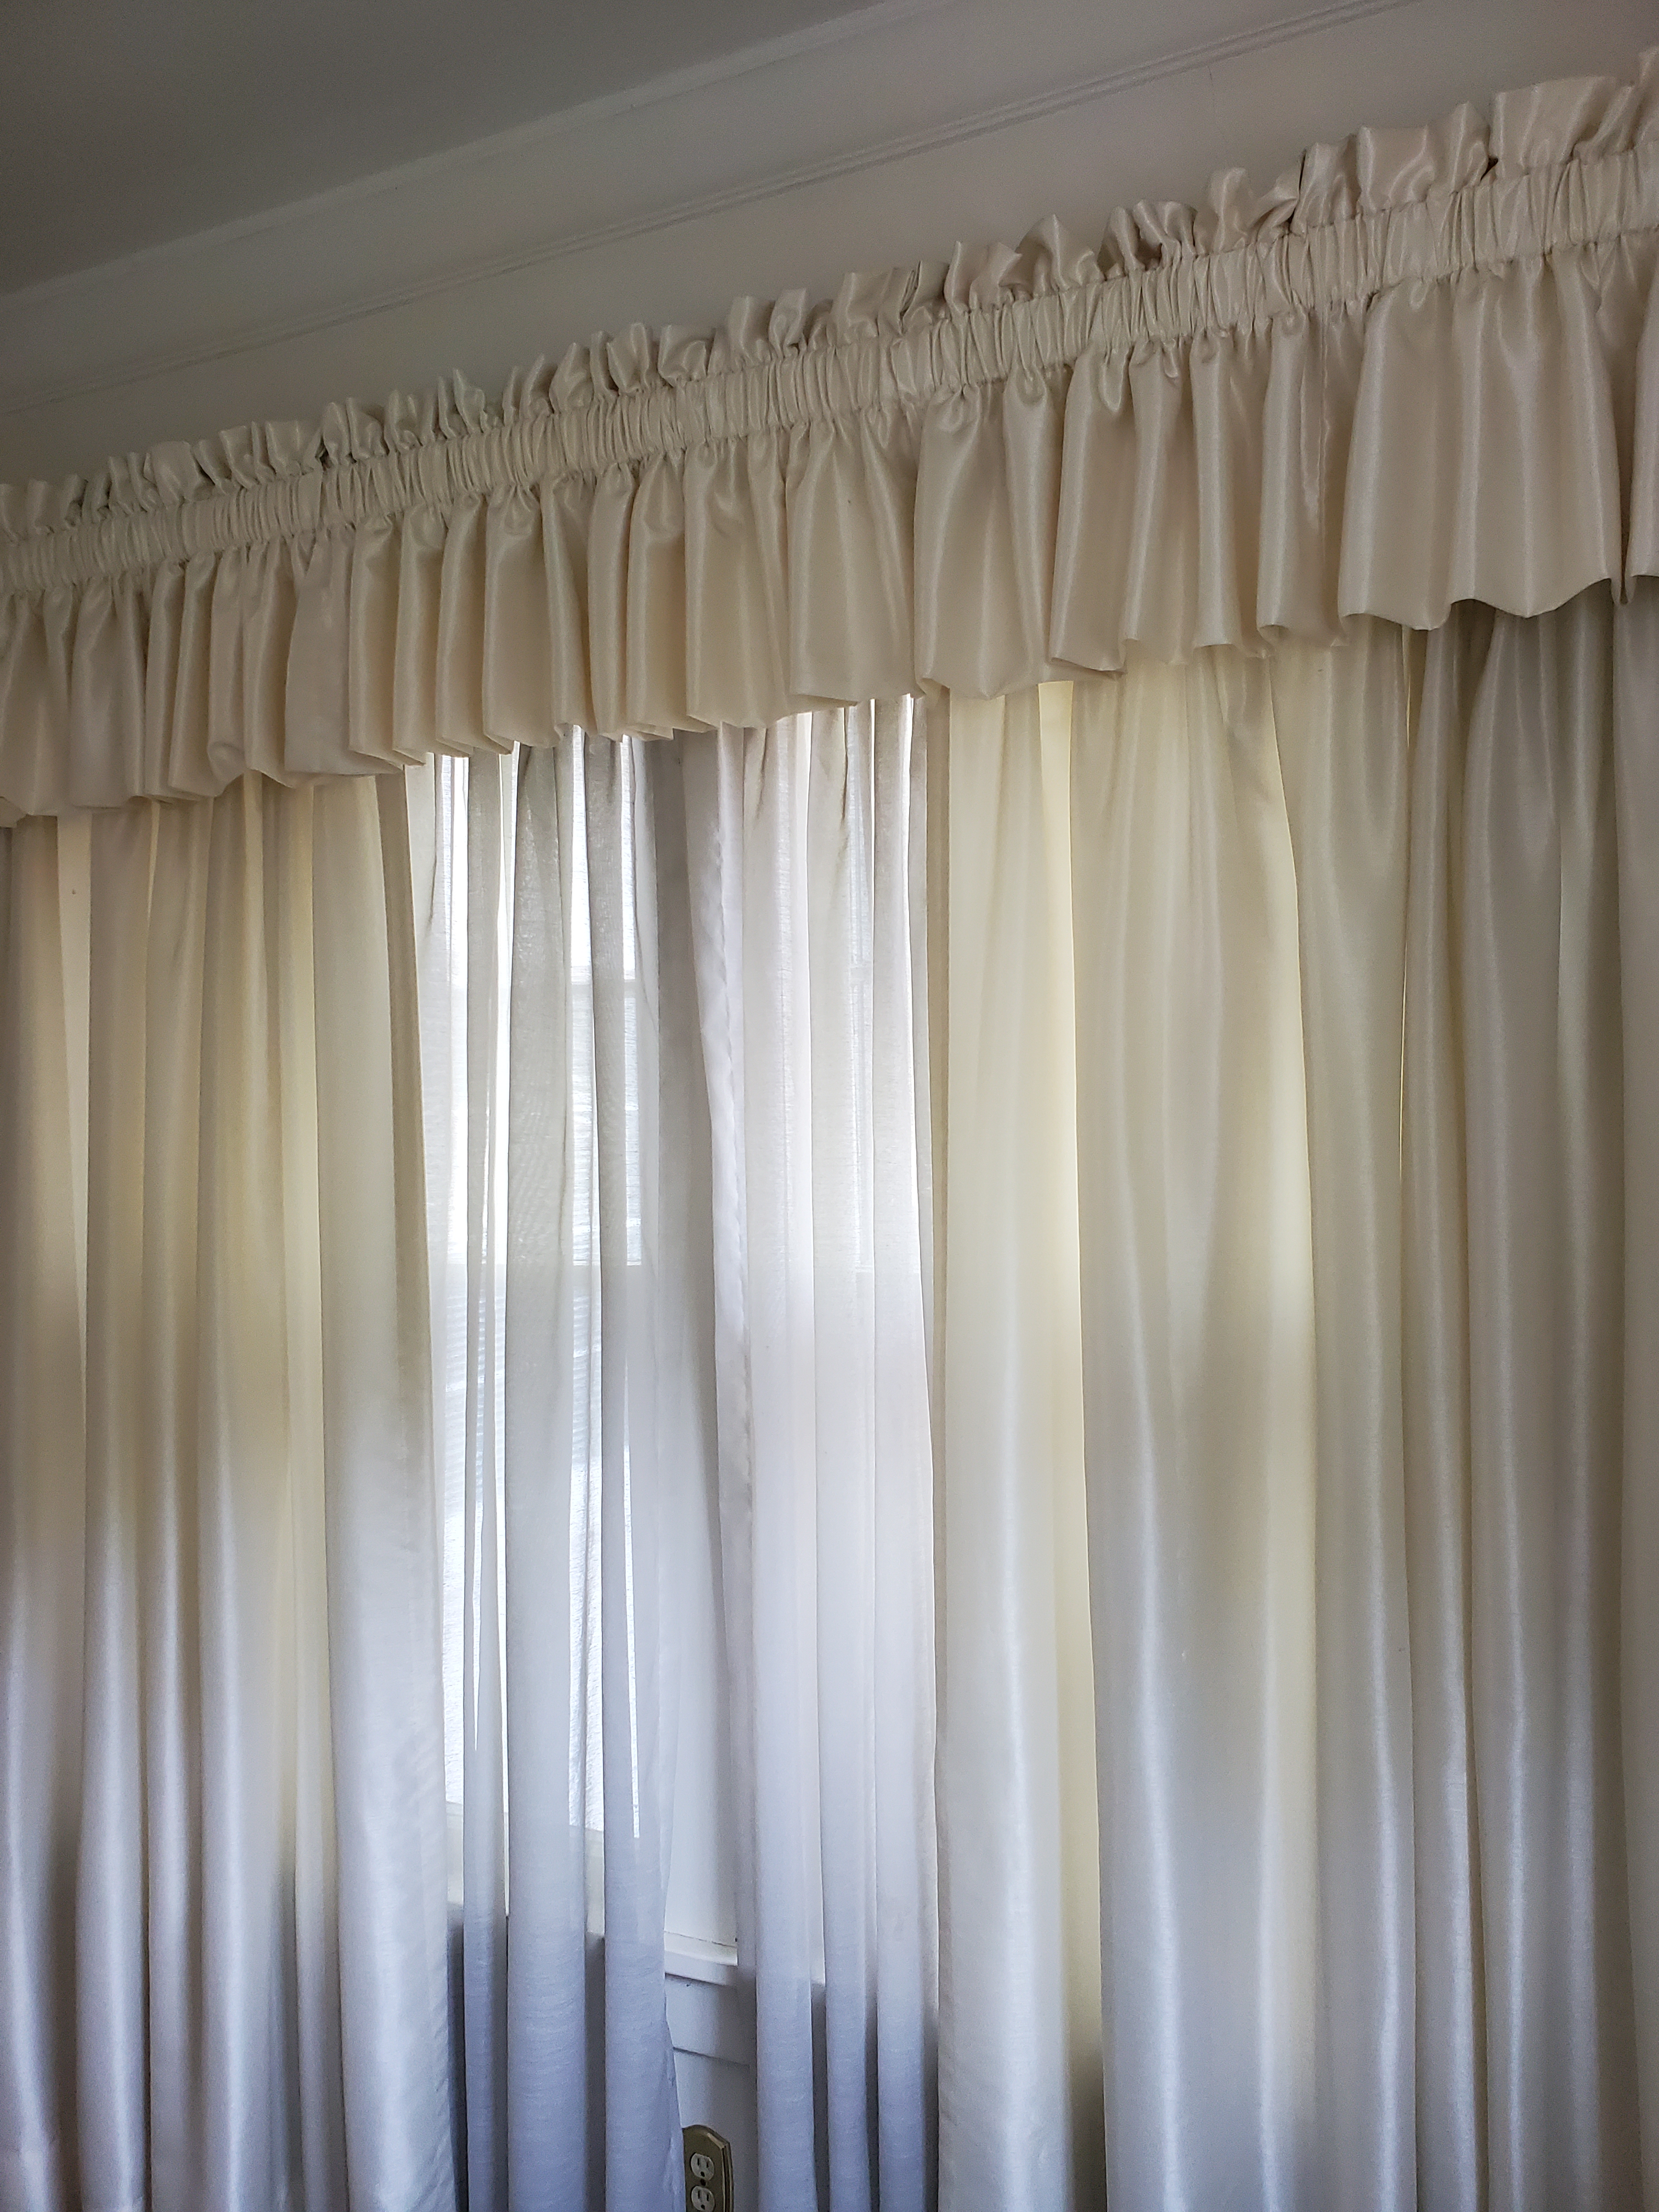
Oh, the carpet. It graces nearly the entire home – even when you immediately walk in the front door, you’re met with a pile of once-cream colored carpet that now has a decidedly taupe sheen to it. If you climb the stairs, you’re met with four different colored carpets – the cream from downstairs, green in the master bedroom, blue in one spare bedroom, and a deep red straight out of a Stephen King nightmare in the other.
If you walk around our home, you can hear the tantalizing squeak of hardwood floors underneath. Hints of the floors tease me daily – it peeks out under the carpet on the stairs and in our coat closet. The sellers confirmed there were hardwood floors throughout the home when we bought it. As much as I loved the home after the first walk-through, the carpet had to go. I knew it would take either a lot of money, hard work, or both, depending on how we did it.
After doing some research and chatting about the process with my dad, I realized this is a project Husband and I could conceivably tackle on our own – it would save us a considerable expense and we could work on this project on our own schedule. I’ve been working on accepting that the house, while lovely, won’t be in the condition that I want it to be in for quite some time – that we need to pace ourselves with the home renovation projects so that we don’t burn out. Radical acceptance. I’ve made peace with it.
While I wasn’t excited by the prospect of all the manual labor involved with exposing hardwood floors, I was afraid that if we kept taking a laisseiz-faire approach with the house, nothing would get done. That before we know it, it’ll be Summer 2022 and we’ll be showing houseguests around a home with ugly old carpet(s) and granny curtains.
We needed to pull the trigger and it had to be this weekend. We decided to start with the dining room, which has a smaller footprint. I thought we could get the carpet ripped out in two hours. Husband, who helped his parents rip out carpet in his childhood, shook his head. “It is not going to take two hours,” he said, so we blocked out Saturday afternoon for the work and watched tutorial videos on YouTube to prepare.
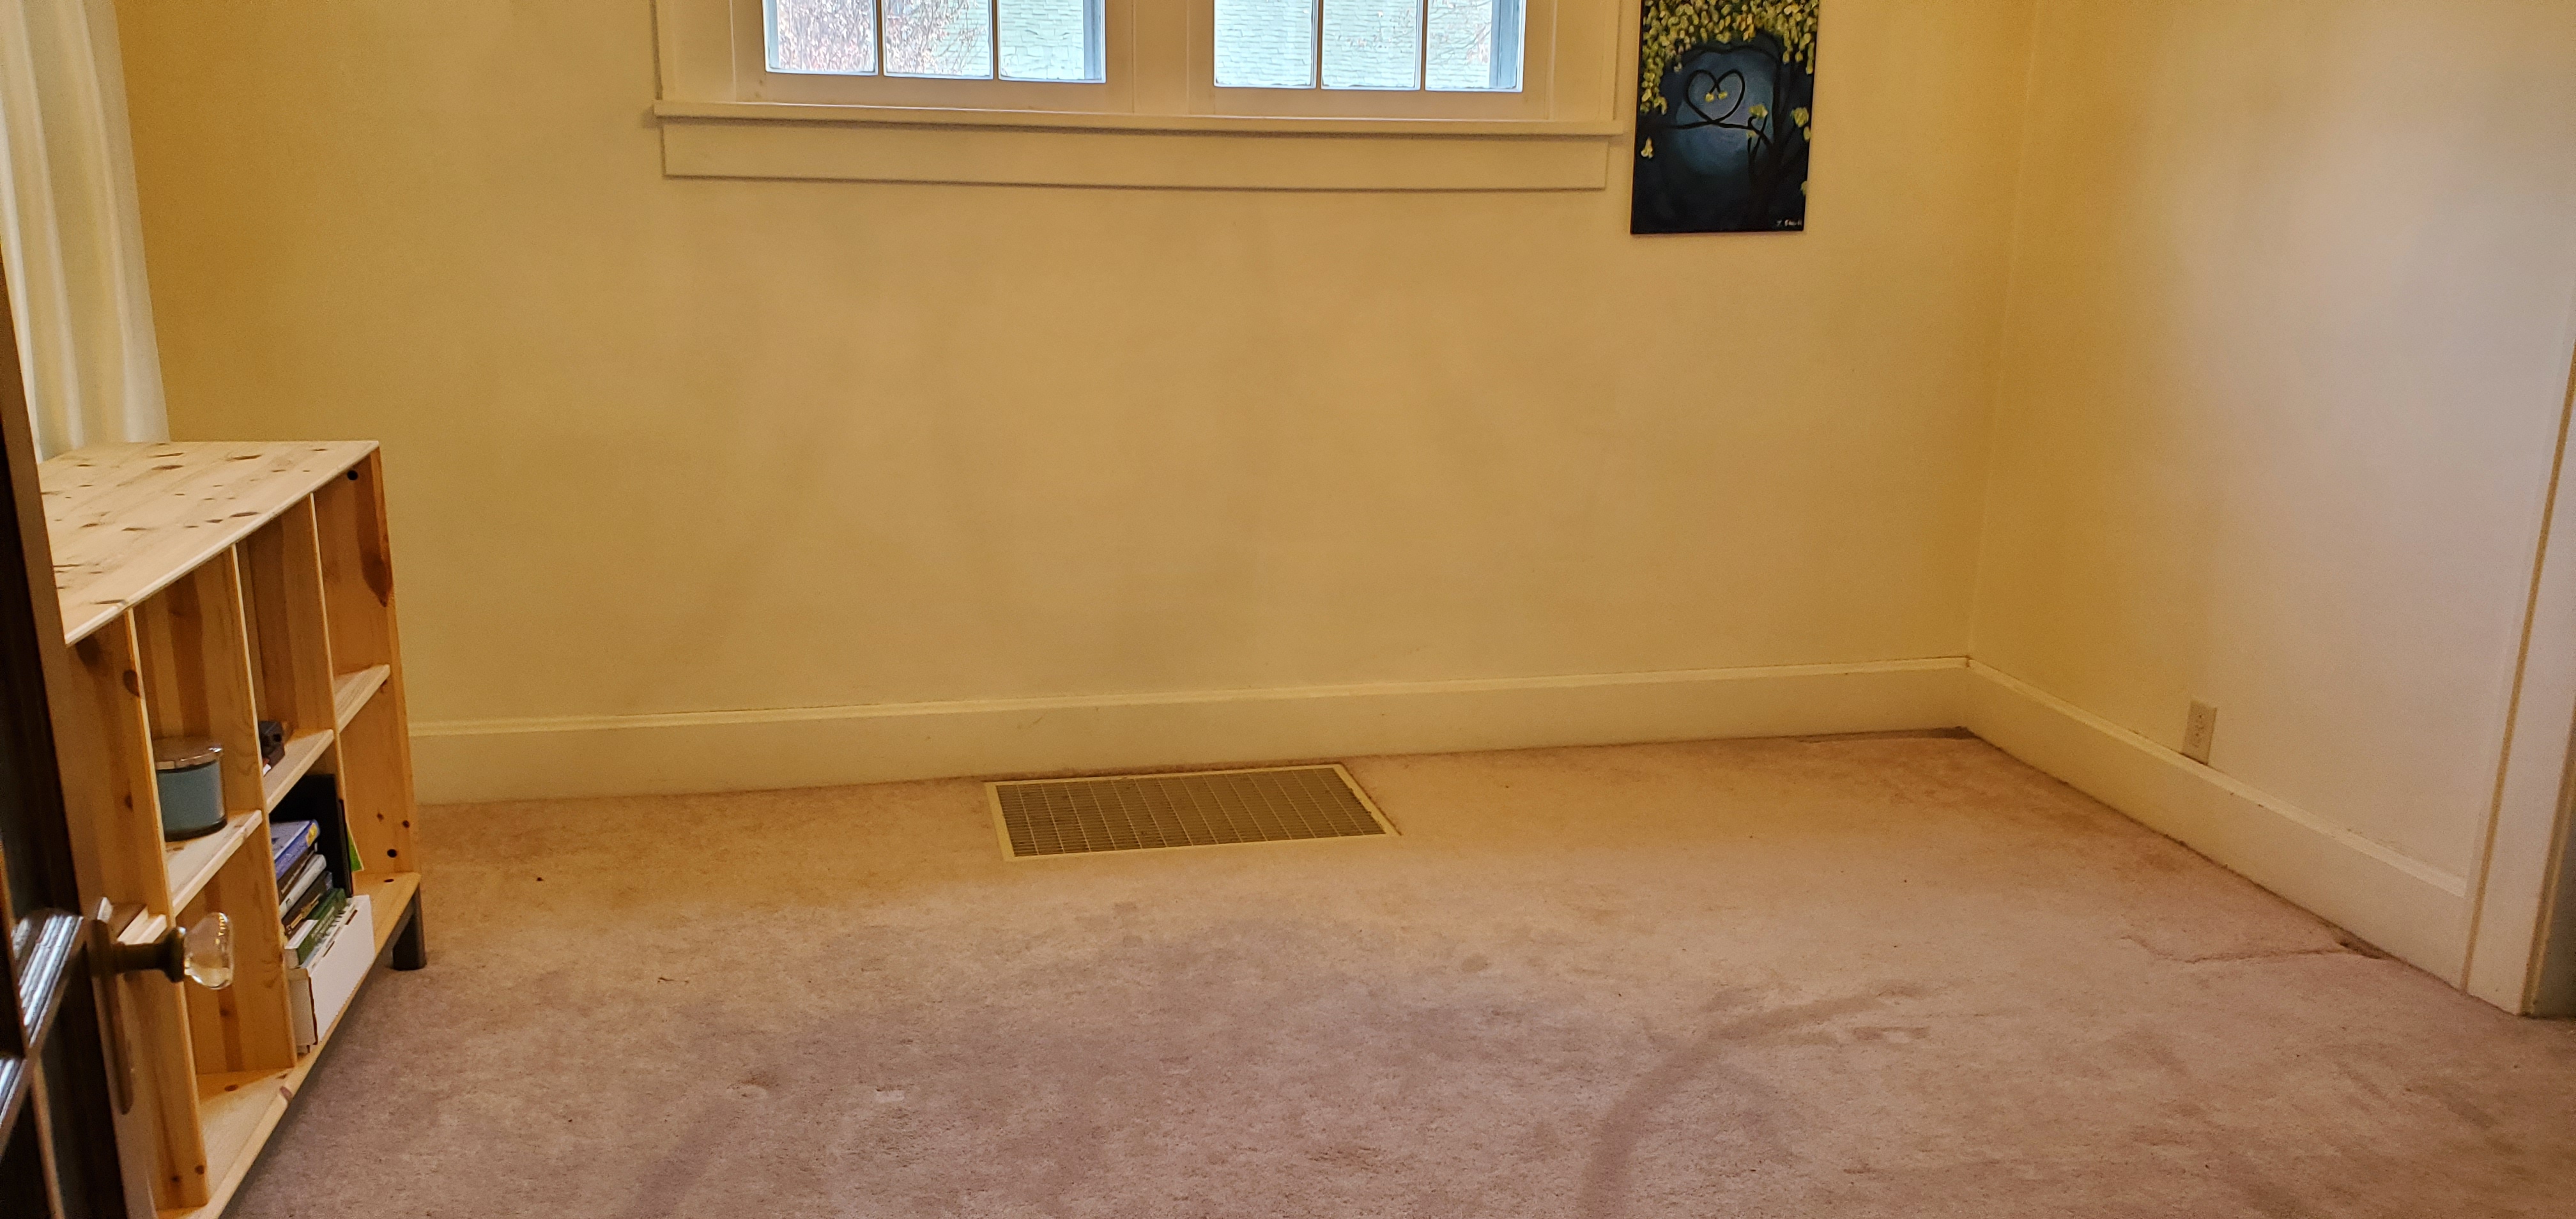
We moved the furniture out of the room and dug out our safety gear – safety glasses, work gloves, knee pads, and KN95 masks. We put Apollo in the kitchen and set up the baby gate, which he was not excited about (you can see him staring at us in the photo below).


We stood in the middle of the room, excited but filled with trepidation. I’d never done anything like this before – as a renter for most of my adult life, the most I was allowed to do was paint a room a neutral color. Our previous house, which we owned, had been flipped and updated before we moved in.
Most importantly – what would the floors look like? Had they been covered up for a reason? I wasn’t expecting them to be in great shape, but I could hope for the best.
Husband took out his phone and looked at instructions for a refresher. “Okay,” he said. “It says that you need to take down any doors in the room where you’re removing carpet.”
I looked at the French doors in our dining room and shook my head. “Nah,” I said.
Husband paused a beat, then read aloud the next step. “Then it says to remove the baseboards.”
My heart sank when I thought of the work involved removing the baseboards. Some of them almost looked molded to the wall. “Nah,” I said.
(This is probably where a bunch of home renovation experts will say that we should follow directions, but whatever – it ended up working out for us.)
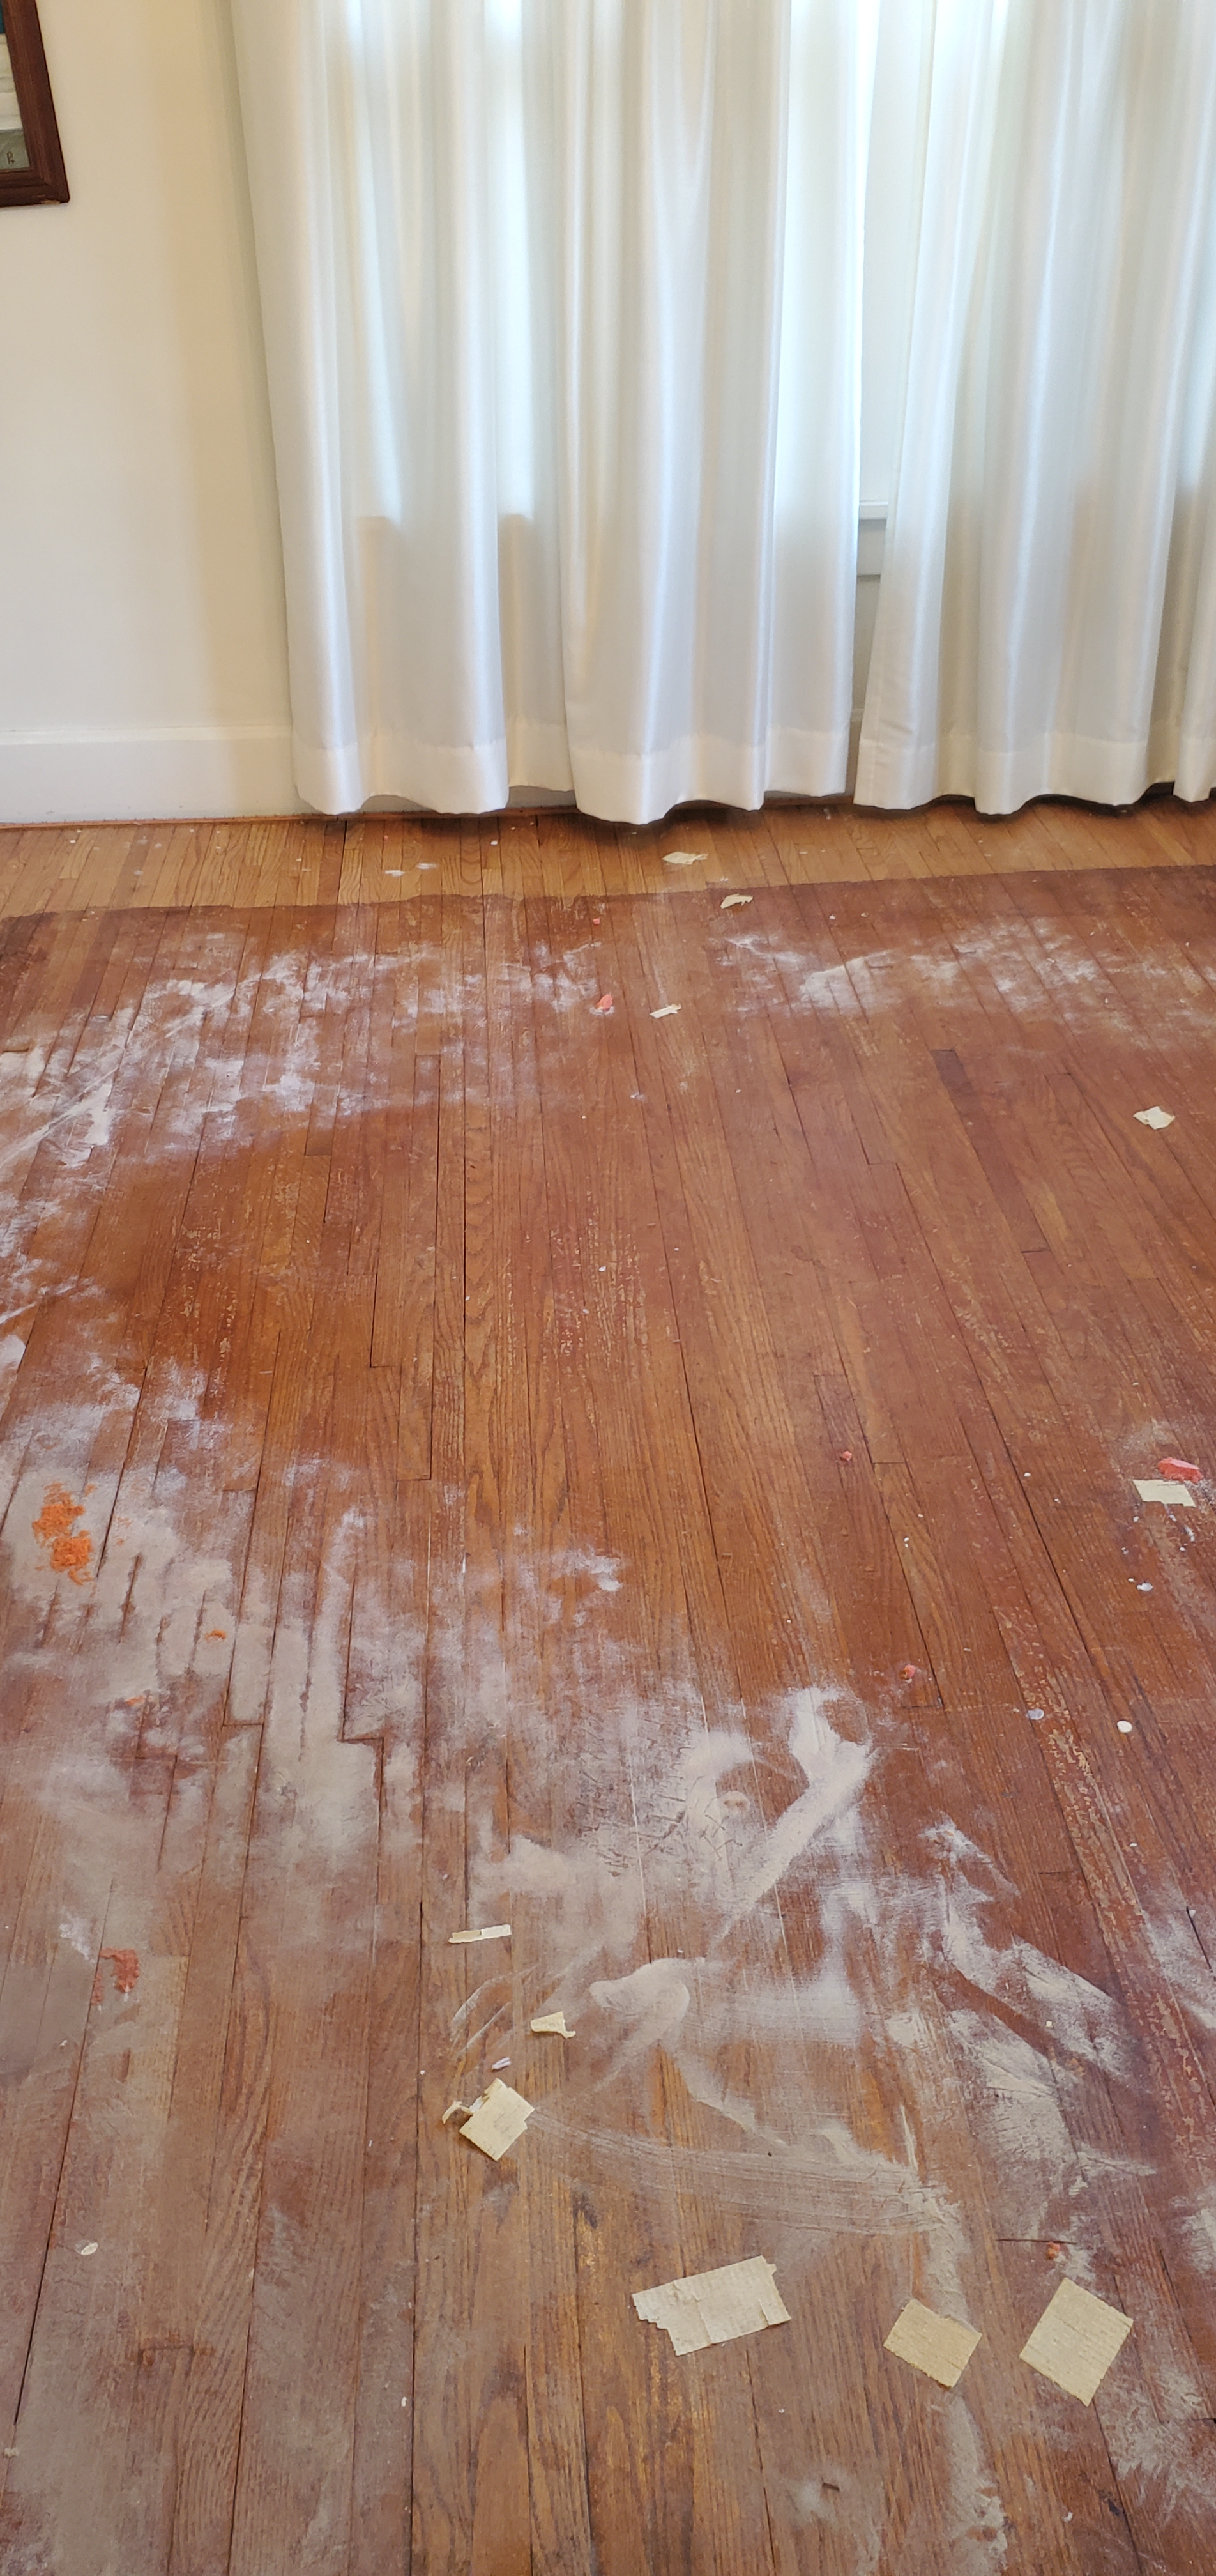
We started by pulling the carpet at the end of the room. Seeing the floors underneath was thrilling, and pulling the carpet up was actually very easy.
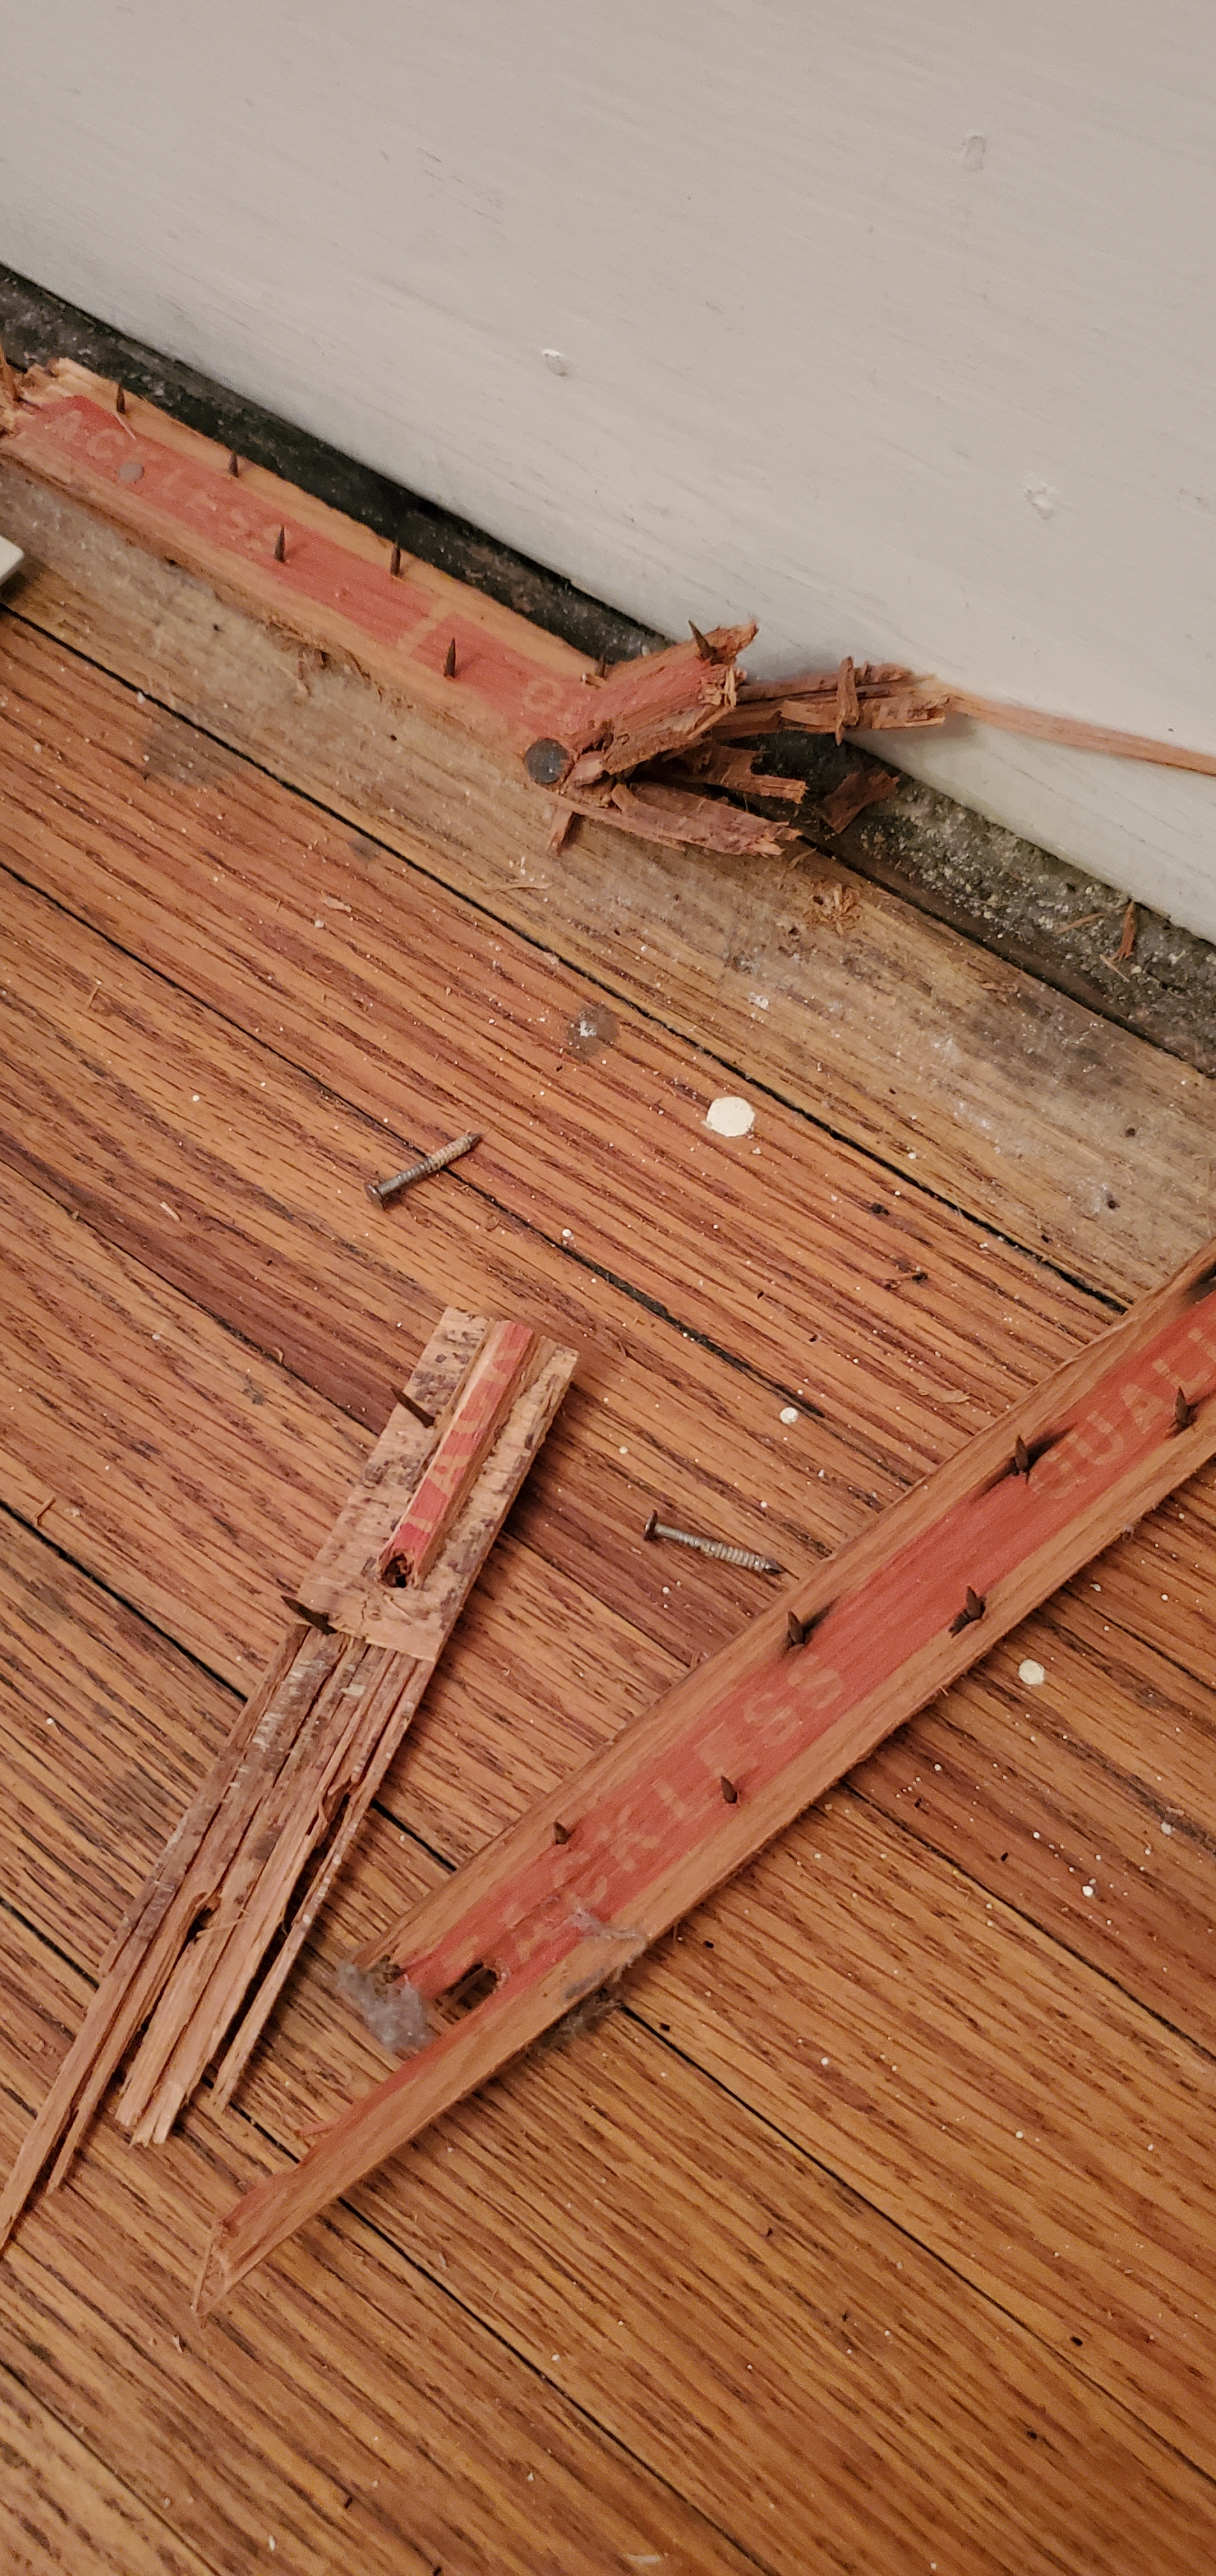
It was the other part – removing the staples and tack strips – that was the most time-consuming and labor-intensive.
I didn’t take photos of the carpet or pads because no one needs or wants to see it. Just imagine a really old carpet with lots of questionable stains. And dust. Oh, so much dust.
Husband and I split the work – he had the tedious task of going around the entire room and removing all the staples, while I removed the tack strips and nails. I didn’t have the easiest time with it – I don’t think I had enough leverage with the small pry bar I was using. As I was working, I thought, hmmm, ripping out a carpet is probably not the best thing to do for someone who just recovered from a pulled back. Haha, too late!
But despite all the work, I was really happy! It felt really empowering doing this ourselves and knowing we were saving ourselves so much money. We were learning about home renovation, adding another notch to our respective life experience belts, and growing together as a couple. And you can probably tell from my post yesterday that I was in a bit of a funk – it felt good to move my body and see something tangible as a result. I felt so proud of us and our hard work.
As our energy flagged, we grabbed some Starbucks and I turned on a metal playlist on Spotify to keep us motivated. After removing the tack strips and staples, Husband took a shop vac to make sure nothing was left behind while I switched out the granny curtains for new ones. Since this is the room Apollo stays in when we leave the house, it was critical that we made it a safe place for him, since he has a special talent for finding objects that do not belong in his mouth or stomach.
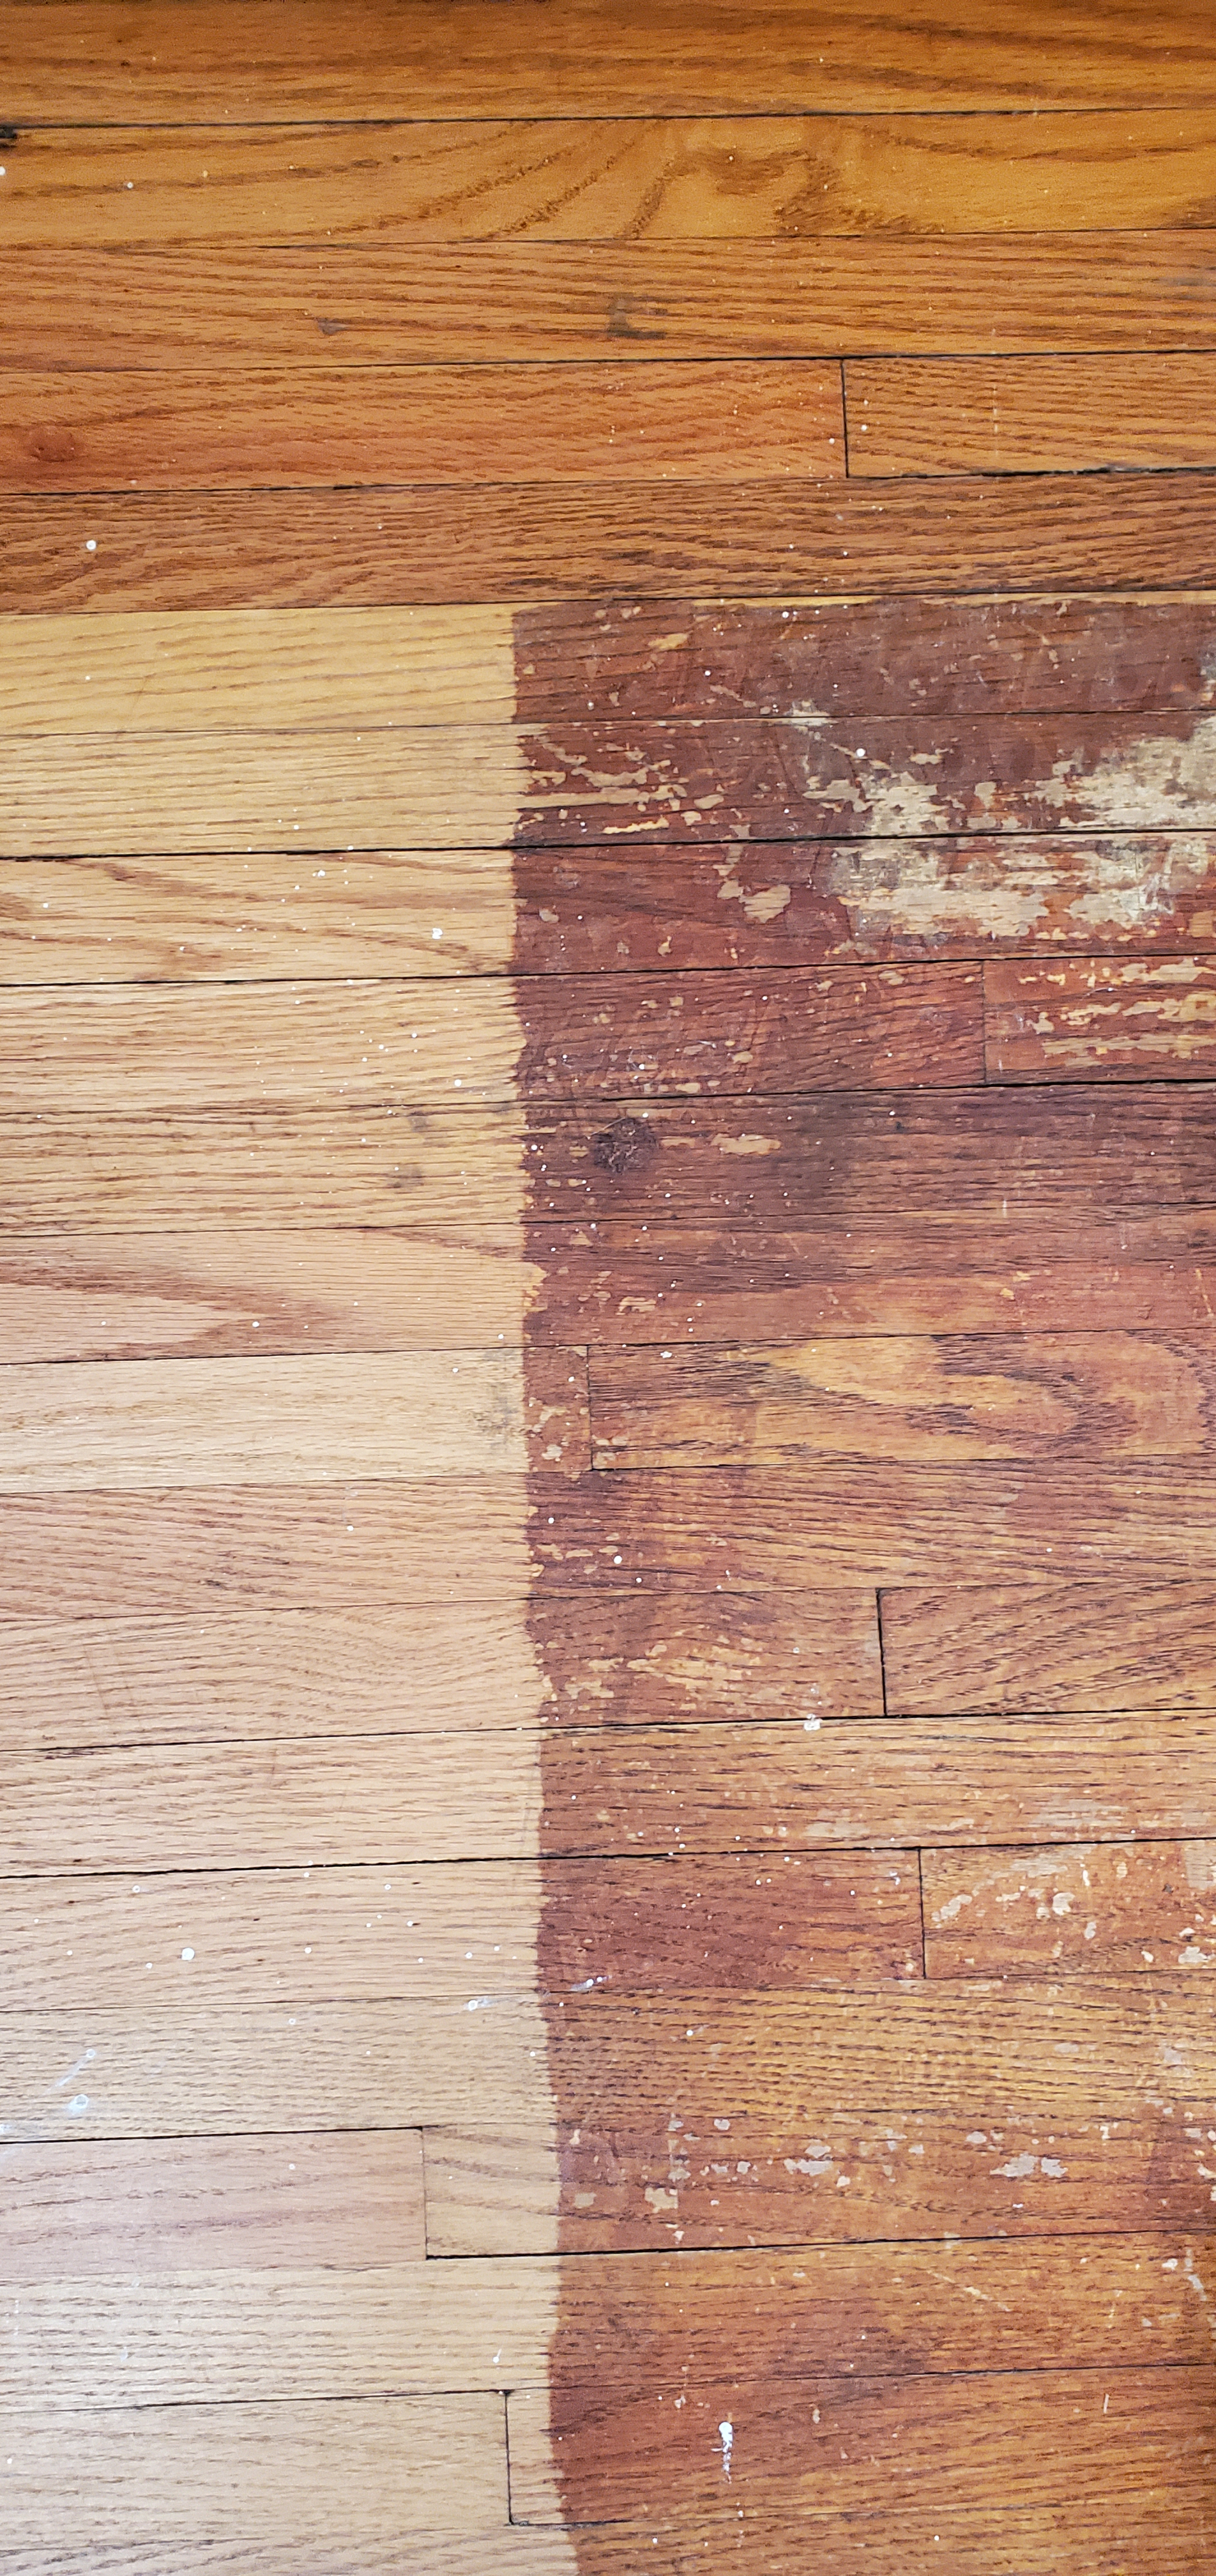
Afterward, we mopped using a blend of vinegar and water, mopping it three times to get it clean. I don’t even want to know the last time those floors were subjected to a cleaning agent.
We took a step back and admired our work. There is still much to be done.
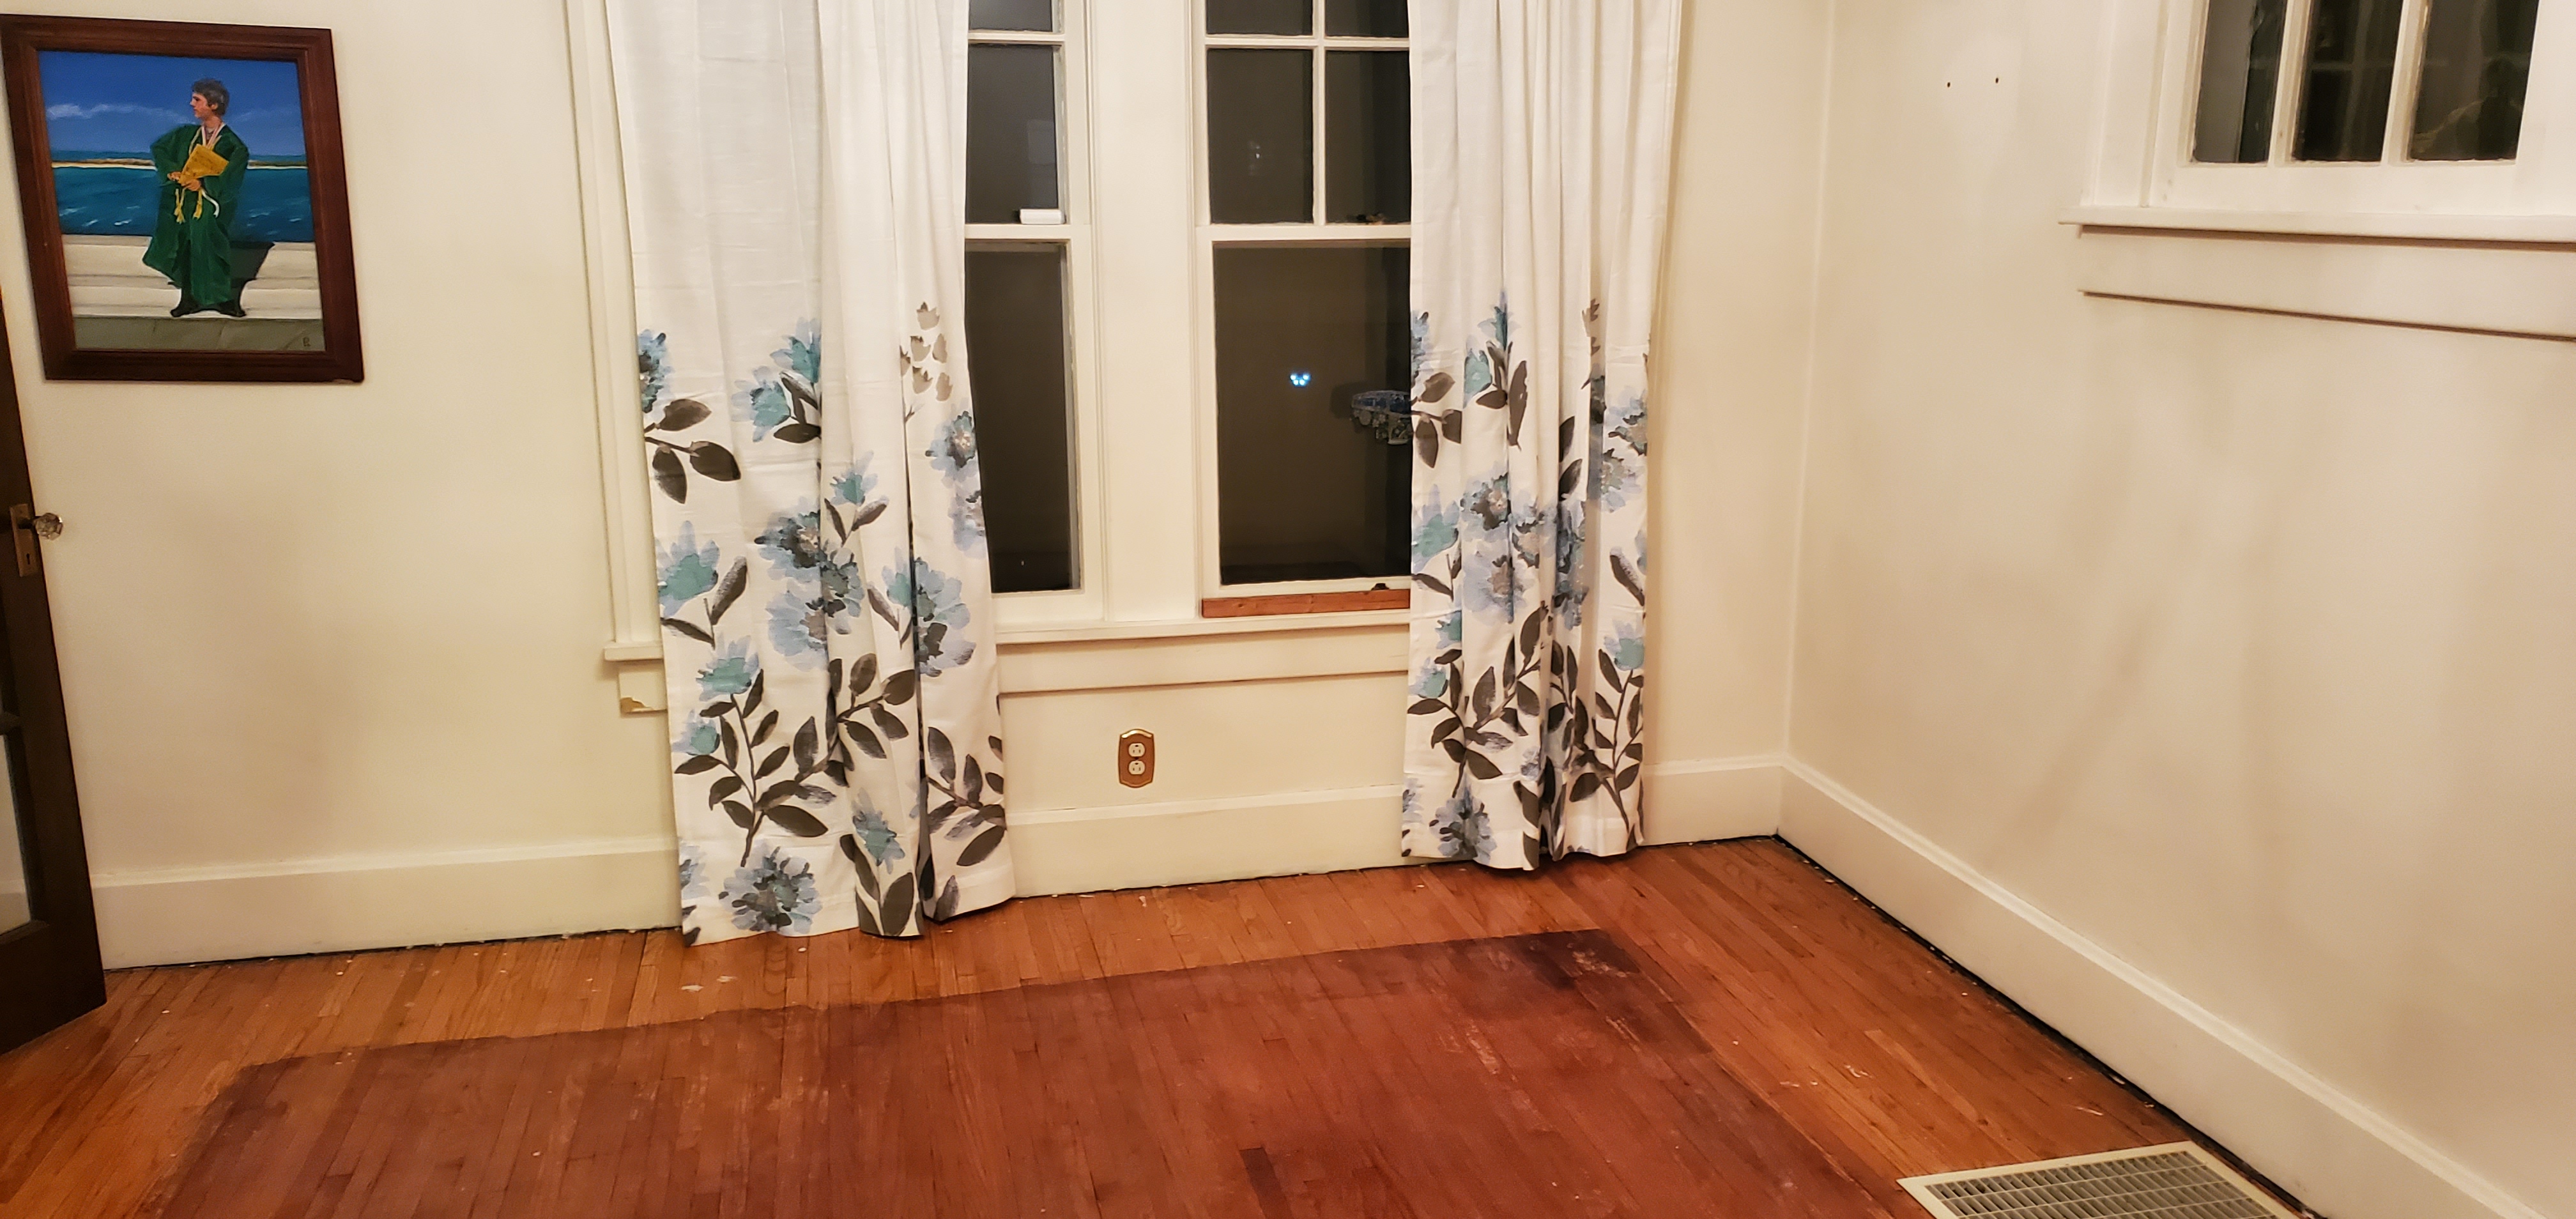
The condition of the floors is okay, but not great, which didn’t surprise me. It’s clearly discolored and there are patches of paint on the floors (which makes us wonder how old this paint is).

You can also see a noticeable gap between the the baseboards and hardwood floors – that is our next project.
We decided that until we restored the floors, we could move a rug over it to cover up a lot of the discoloration. We moved the furniture back in and stood back to admire our handiwork.
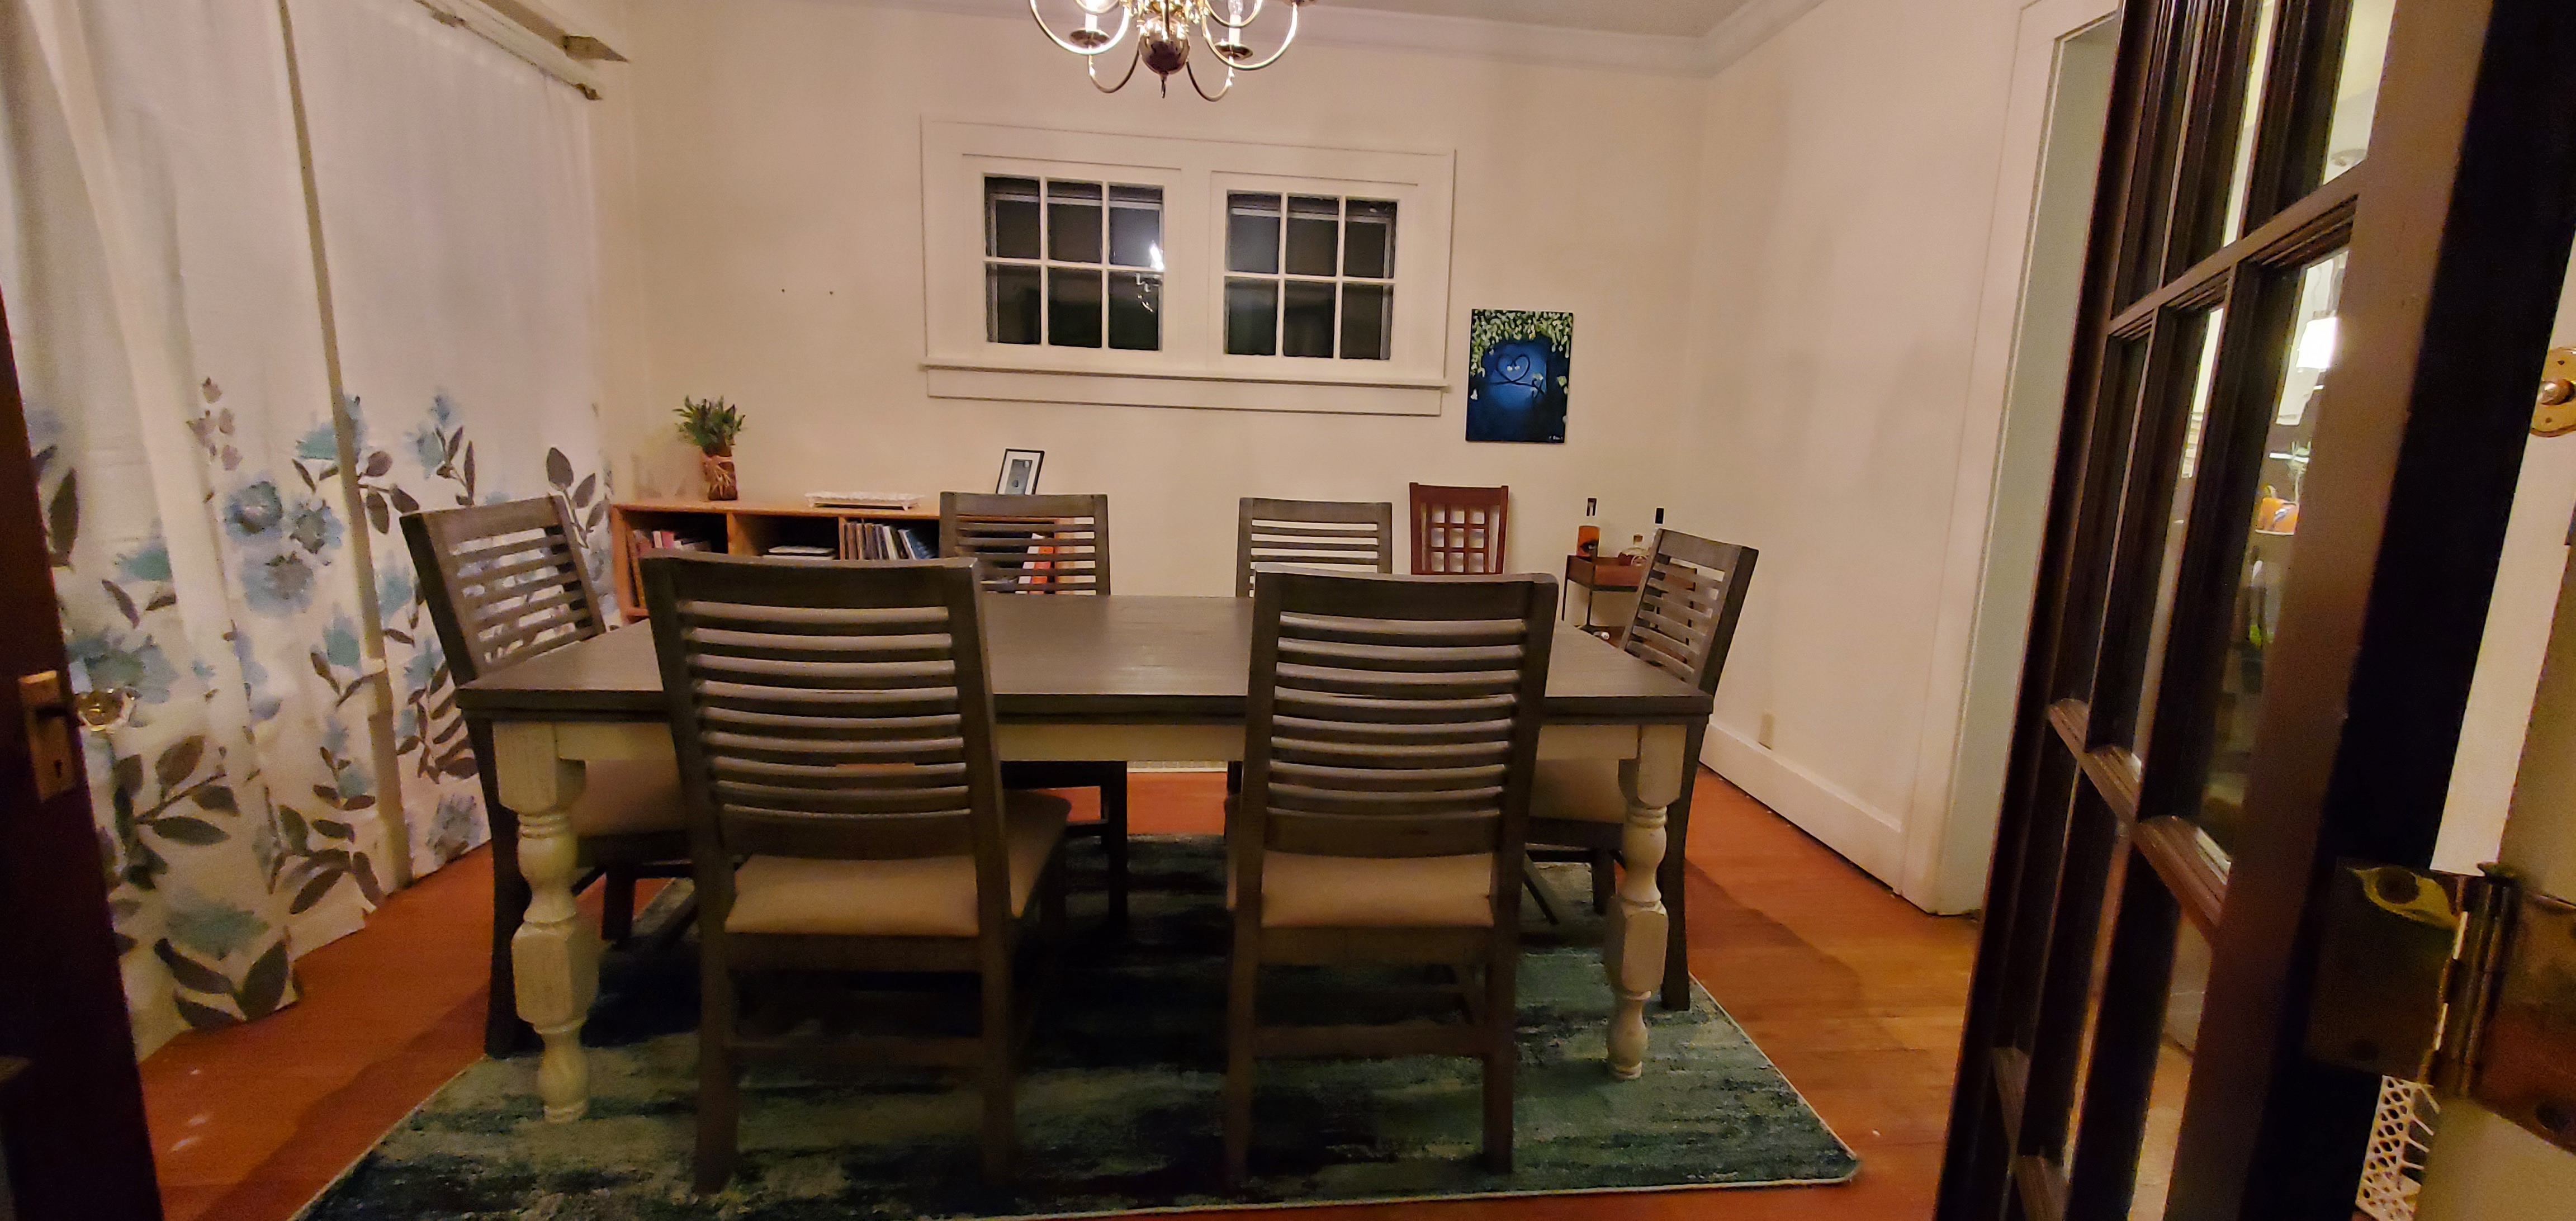
This is not the room in its final form – besides restoring the floors and fixing the gap in the baseboards, we want to paint the room and figure out the best layout for the space. You can’t see it from here, but the windows are off-centered – so if we keep the table underneath the chandeliers, it looks completely off-balance when you enter the dining room from the kitchen. I also don’t love where we have our IKEA bookcase (though it’s a vast improvement from its previous location in front of the window), or whether we want to keep the chair and rack in the corner, which we added to balance out the bookcase. Of course, I’d also like to figure out what to hang on the walls rather the placeholder art that we have here currently.
I walked in the room this morning and found myself so surprised and happy to see the hardwood floors. I didn’t forget the work we did yesterday – my back is certainly reminding me of it – but it was just such a pleasant surprise to see how beautiful the floors looked, scars and all, in the sunlight.

All in all, our first home renovation project was a big success! We’ll next be removing the carpet from the living room, and I’ll be sure to document that here!
Categories: ALL THE THINGS, Home Improvement

Congratulations! Quite a job there.
LikeLiked by 1 person
Thank you! ❤
LikeLike
Excellent work!
LikeLiked by 1 person
Thanks so much! 🙂
LikeLike
Oh, this reminds me of when I removed 662 lbs of mauve carpeting from our small ranch. Underneath were beautiful oak floors and the dining room was never even stained or finished. Unfortunately it was buried under carpet, vinyl and finally a layer of linoleum that was guarding the wood with its life! Enjoy the journey. It is a ton of work, but you will be sooo happy when it is done.
LikeLiked by 1 person
Thank you so much! Oh my, that must have been some work to get that wood exposed! I think two of the upstairs bedrooms have subfloors – but hopefully not as many layers as what you had to remove!
LikeLiked by 1 person
I used a heat gun to soften the adhesive on the linoleum and vinyl tiles. At one point as I was working away with a scrapper, my hand slipped and went under the heat (500 degrees). It burned and blistered instantly. I am a HUGE advocate for natural wood floors and area rugs. Wall to wall is verboten in my house!
LikeLiked by 1 person
Ahhh, that sounds so painful! Yes, I’m the same -I looooove floors, and adding area rugs makes it cozy. I cannot stand carpet – so so gross :p
LikeLiked by 1 person